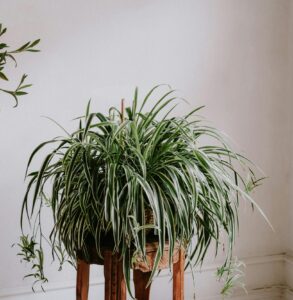
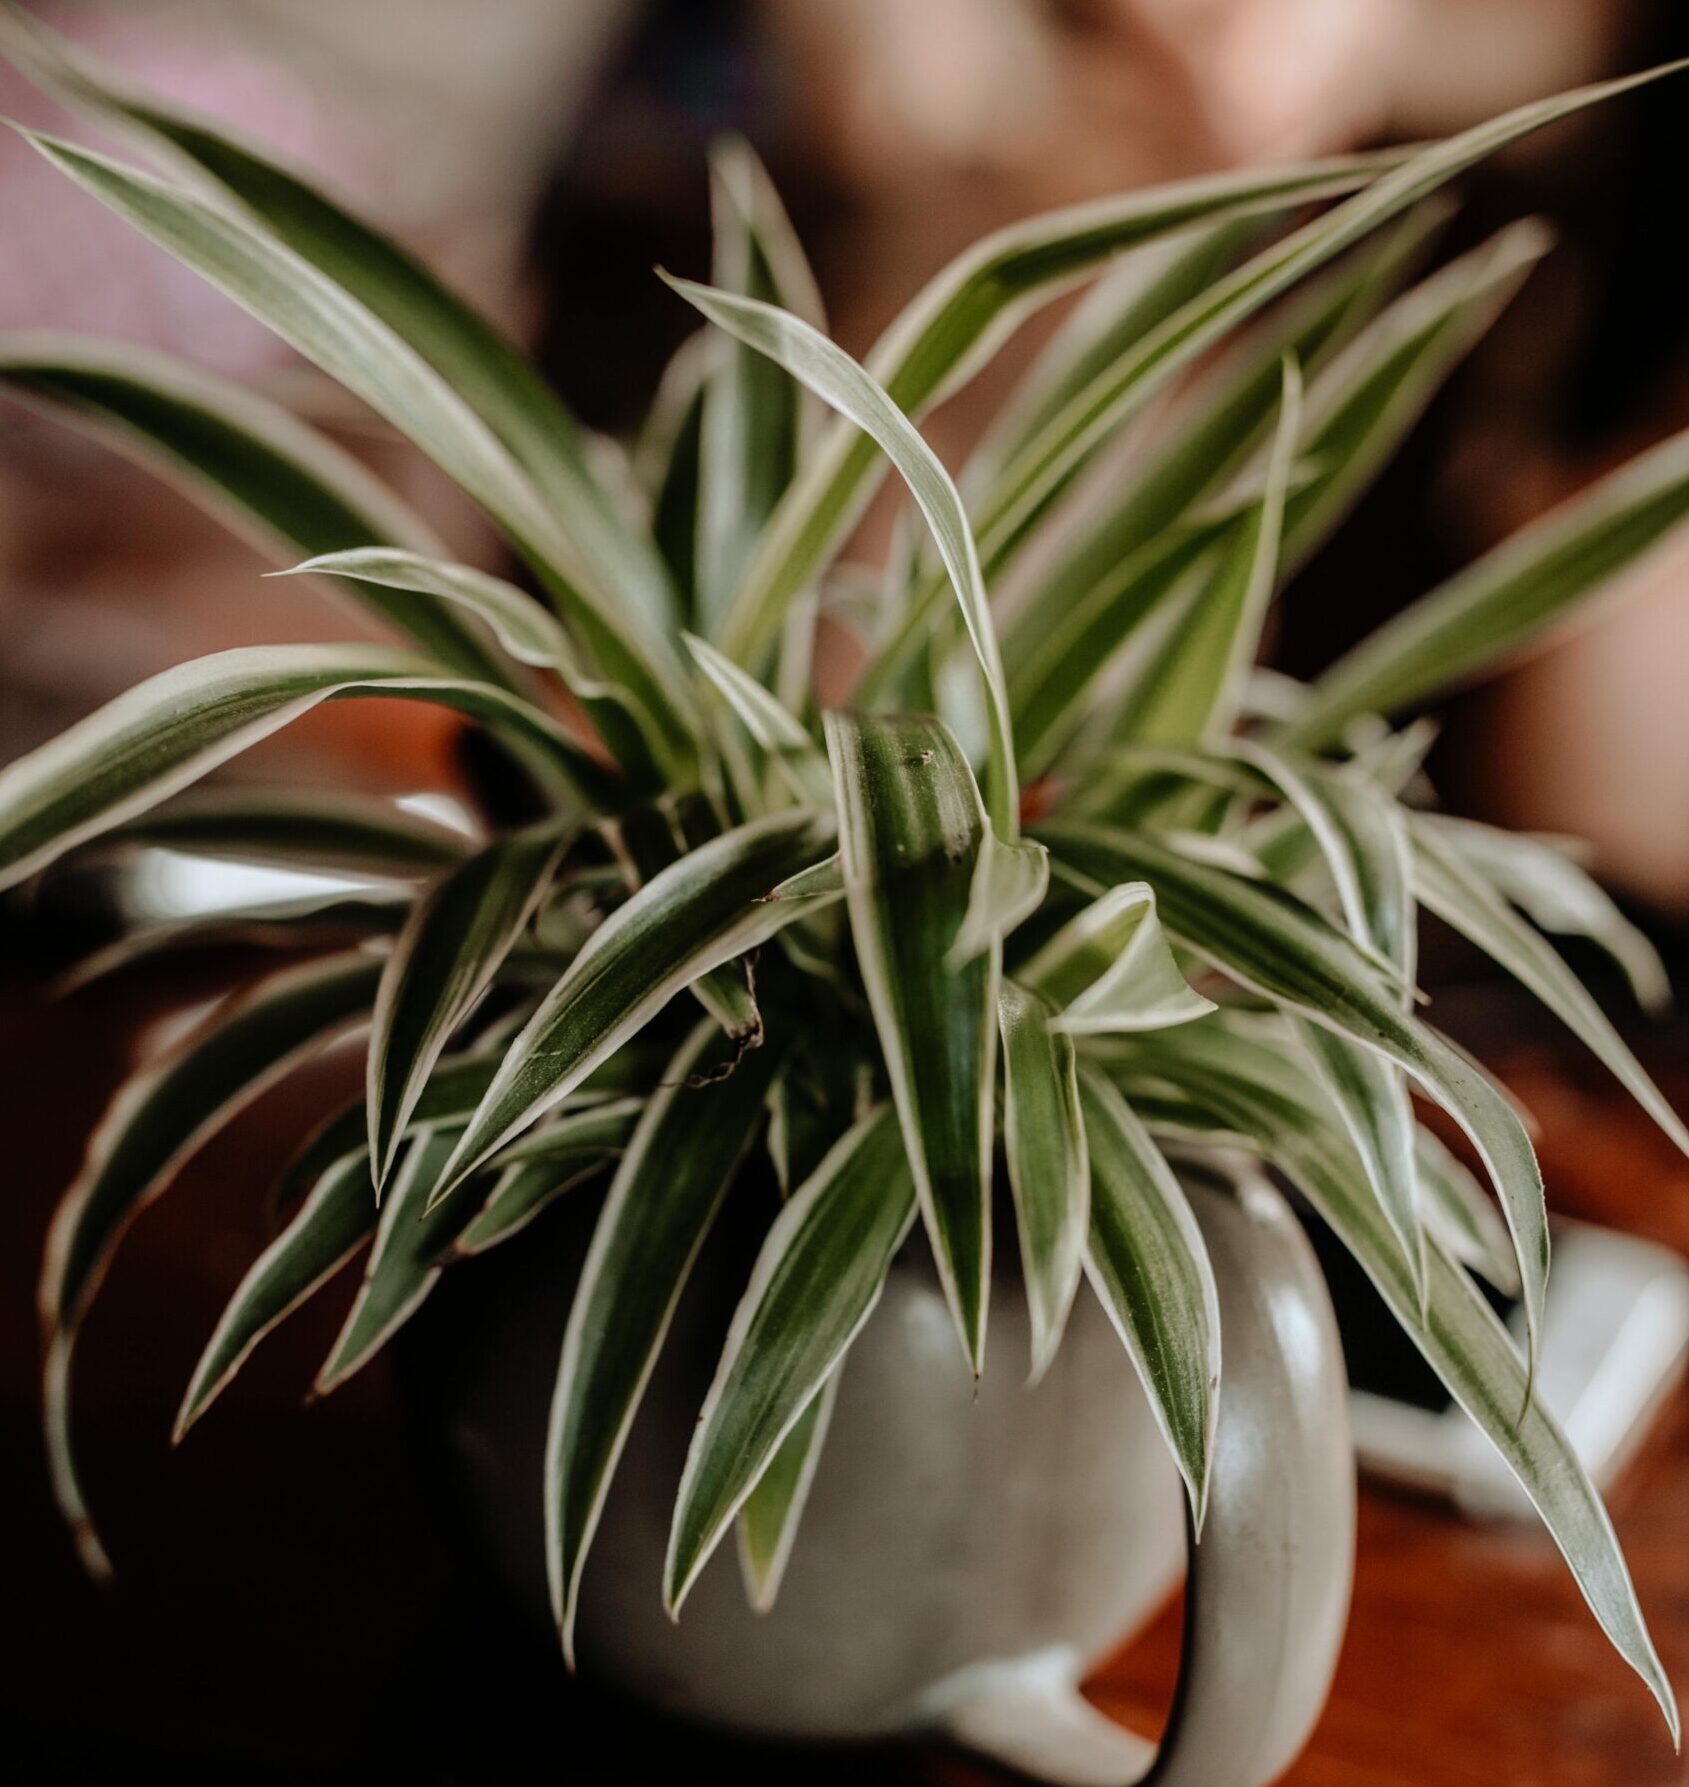
Spider plants, known scientifically as Chlorophytum comosum, are among the most popular and easy-to-care-for houseplants. They are well-loved for their air-purifying qualities, arching leaves, and the way they produce “spiderettes” or baby plants on long stems, which add a charming touch to any indoor space. Here’s a comprehensive guide to help you grow and care for your spider plant indoors.
| Common Names | Spider plant, spider ivy, ribbon plant |
| Botanical Name | Chlorophytum comosum |
| Family | Asparagaceae |
| Plant Type | Herbaceous, perennial |
| Mature Size | 1–2 ft. tall and wide |
| Sun Exposure | Partial, shade |
| Soil Type | Loamy, well-drained |
| Soil pH | Neutral |
| Bloom Time | Flowers regularly |
| Flower Color | White |
| Hardiness Zones | 9–11 (USDA) |
| Native Area | Central and Southern Africa |

Types of Spider Plants
1. Variegated Spider Plant (Chlorophytum comosum ‘Vittatum’)
The most common variety features green leaves with a broad white stripe down the center.
2. Reverse Variegated Spider Plant (Chlorophytum comosum ‘Variegatum’)
Similar to the ‘Vittatum,’ but with white margins and a green center on the leaves.
3. Bonnie Spider Plant (Chlorophytum comosum ‘Bonnie’)
A curly-leaf variety, the ‘Bonnie’ has green leaves with white margins and is often used as a decorative houseplant due to its compact, curly growth habit.
4. Hawaiian Spider Plant (Chlorophytum comosum, ‘Hawaiian’)
Also known as the Golden Glow, this variety has a more compact form with darker green leaves that have a lighter green or gold center stripe.
5. Zebra Spider Plant (Chlorophytum laxum ‘Zebra’)
This variety has narrower leaves with white margins, offering a slightly different look from the traditional Spider Plant.
Each type of Spider Plant offers unique visual appeal, making them versatile options for indoor gardening.
Care
1. Choosing the Right Location
- Light: Spider plants thrive in bright, indirect light but can tolerate low light conditions. Your plant will benefit from filtered sunlight if you place it close to a window. Keep clear of direct sunlight, as it may scorch the foliage.
- Temperature: Spider plants prefer temperatures between 55°F and 80°F (13°C to 27°C). They are quite adaptable but should be kept away from cold drafts and heating vents.
2. Potting and Soil
- Soil: A well-draining, all-purpose potting mix is ideal for spider plants. They prefer slightly acidic to neutral soil with a pH level between 6.0 and 7.2.
- Pot: Choose a pot with drainage holes to prevent water from accumulating at the bottom, which can lead to root rot. Spider plants don’t mind being slightly root-bound, so they can stay in the same pot for a couple of years before needing repotting.
3. Watering
- Frequency: Water your spider plant when the top inch of soil feels dry. Typically, this means watering once a week, but this can vary depending on your indoor climate.
- Water Quality: Spider plants are sensitive to fluoride and chlorine in tap water, which can cause leaf tips to brown. If possible, use distilled water or let tap water sit out overnight before using it.
4. Fertilizing
During the growing season (spring and summer), feed your spider plant every 4–6 weeks with a balanced, water-soluble fertilizer. As the plant’s development slows in the fall and winter, cut back on feeding.
5. Humidity and Air Quality
- Humidity: Spider plants prefer moderate humidity levels. If the air in your home is dry, especially during winter, you can increase humidity by misting the plant occasionally or placing it near a humidifier.
- Air Purifying: One of the remarkable qualities of spider plants is their ability to purify the air by absorbing pollutants such as formaldehyde and carbon monoxide, making them an excellent choice for improving indoor air quality.
6. Pruning and Maintenance
- Trimming: Regularly remove any yellow or brown leaves to keep the plant looking its best. If the tips of the leaves turn brown, trim them with clean scissors, but avoid cutting into the green part of the leaf.
- Spiderettes: Spider plants produce small white flowers that eventually turn into baby plants or spiderettes. You can leave these on the plant for a fuller look, or cut them off and propagate them in water or soil to create new plants.
7. Propagation
- Water Propagation: Place the spiderettes in a glass of water, making sure the bottom part of the baby plant is submerged. After a few weeks, roots will develop, and the spiderette can be planted in soil.
- Soil Propagation: Alternatively, plant the spiderette directly into soil, keeping it moist until it establishes roots.
8. Common Problems and Solutions
- Browning Tips: Often caused by overwatering, fluoride, or chlorine in tap water. Adjust your watering routine and consider using filtered or distilled water.
- Yellow Leaves: This can indicate overwatering, poor drainage, or inadequate light. Ensure the plant has good drainage and adjust its light exposure as needed.
9. Repotting
Spider plants typically need repotting every 1–2 years. When the plant starts to get top-heavy or roots are emerging from the drainage holes, it’s time to repot it. Choose a pot one size larger, and refresh the soil to give your spider plant room to grow.
Growing and caring for a spider plant is a rewarding experience, especially for beginners. With minimal effort, these resilient plants can thrive and even multiply, adding a touch of greenery and air-purifying benefits to your home. Remember to keep them in bright, indirect light, water them appropriately, and enjoy the lush, cascading foliage that spider plants offer.
Common Pests and Diseases of Spider Plants
Common Pests:
- Aphids: cause yellowing leaves; treat with insecticidal soap.
- Spider Mites: Lead to speckled leaves and webbing; control with neem oil.
- Mealybugs: appear as white, cotton-like spots; remove with alcohol-dipped cotton swabs.
- Whiteflies: sap-sucking insects; manage with yellow sticky traps and insecticidal soap.
Common Diseases:
- Root rot: caused by overwatering; prevent it by ensuring good drainage and proper watering.
- Leaf Blight: brown spots on leaves; improve air circulation and remove affected leaves.
- Powdery Mildew: white, powdery spots on leaves; reduce humidity and treat with fungicide.
Prevention Tips:
- Water properly, maintain moderate humidity, inspect regularly, and keep the plant’s environment clean.

